


You can clone this repo and update your credentials to run locally.
Tenki Cloud provides microVM sandboxes with a native filesystem, preview URLs, snapshots, and SSH. Let’s walk through the process of getting a basic application running inside a Tenki sandbox.
Why use Tenki as your sandbox provider?
- Native filesystem, preview URLs, snapshots, and SSH all come standard on Tenki microVMs.
- Your workspace and project auto-resolve from your API key, so there’s less config to manage.
- Real preview URLs on a
.sb.tenki.shdomain for viewing what’s running inside your sandbox.
Let’s see how we can easily run a basic Vite app inside of a Tenki sandbox.
Let’s start by creating a new Next.js project
Run this command in your terminal:
npx create-next-app@latest tenki-basicYou can use all of the defaults when prompted.
Create an .env file
Once it has been created, be sure to create an .env file to add your necessary credentials to.
TENKI_API_KEY=tk_your_api_keyInstall ComputeSDK and the Tenki provider
ComputeSDK ships as a small core package plus one package per provider, so you only install what you use.
cd tenki-basic
npm install computesdk @computesdk/tenki
Create or log in to your Tenki account
Create a Tenki account or log in here.
Create an account, then generate an API key from your Tenki dashboard. Tenki requires Node.js 20 or later.
Save these values in your .env file.
TENKI_API_KEY=tk_your_api_keyNow we’ll move on to creating the actual sandbox logic
We need to create the API route to create the sandbox
Import the tenki factory from @computesdk/tenki and pass it your credentials. compute.sandbox.create() provisions a sandbox on Tenki.
Create a new route.ts file in app/api/sandbox and paste the following code:
// app/api/sandbox/route.ts
import { NextResponse } from 'next/server';
import { tenki } from '@computesdk/tenki';

const compute = tenki({
  apiKey: process.env.TENKI_API_KEY,
});

export async function POST() {

  const sandbox = await compute.sandbox.create();

  return NextResponse.json({
    sandboxId: sandbox.sandboxId,
  });
}
Next, we’ll edit the page.tsx file
We’ll keep it simple and just add one button to run our sandbox test with.
Replace the content on Page.tsx with this code:
// app/page.tsx
'use client';

export default function Home() {
  const createSandbox = async () => {
    const res = await fetch('/api/sandbox', { method: 'POST' });
    const data = await res.json();
    console.log(data);
  };

  return (
    <div className="flex min-h-screen flex-col items-center justify-center p-24">
      <h1 className="mb-8 text-4xl font-bold">ComputeSDK Sandbox Test</h1>
      <button
        className="rounded bg-blue-500 px-4 py-2 font-bold text-white hover:bg-blue-700"
        type="button"
        onClick={createSandbox}
      >
        Create Tenki sandbox
      </button>
    </div>
  );
}
Now, our first test
Run npm run dev in your terminal to start the dev server.
Open localhost:3000
Click the button on the main page.
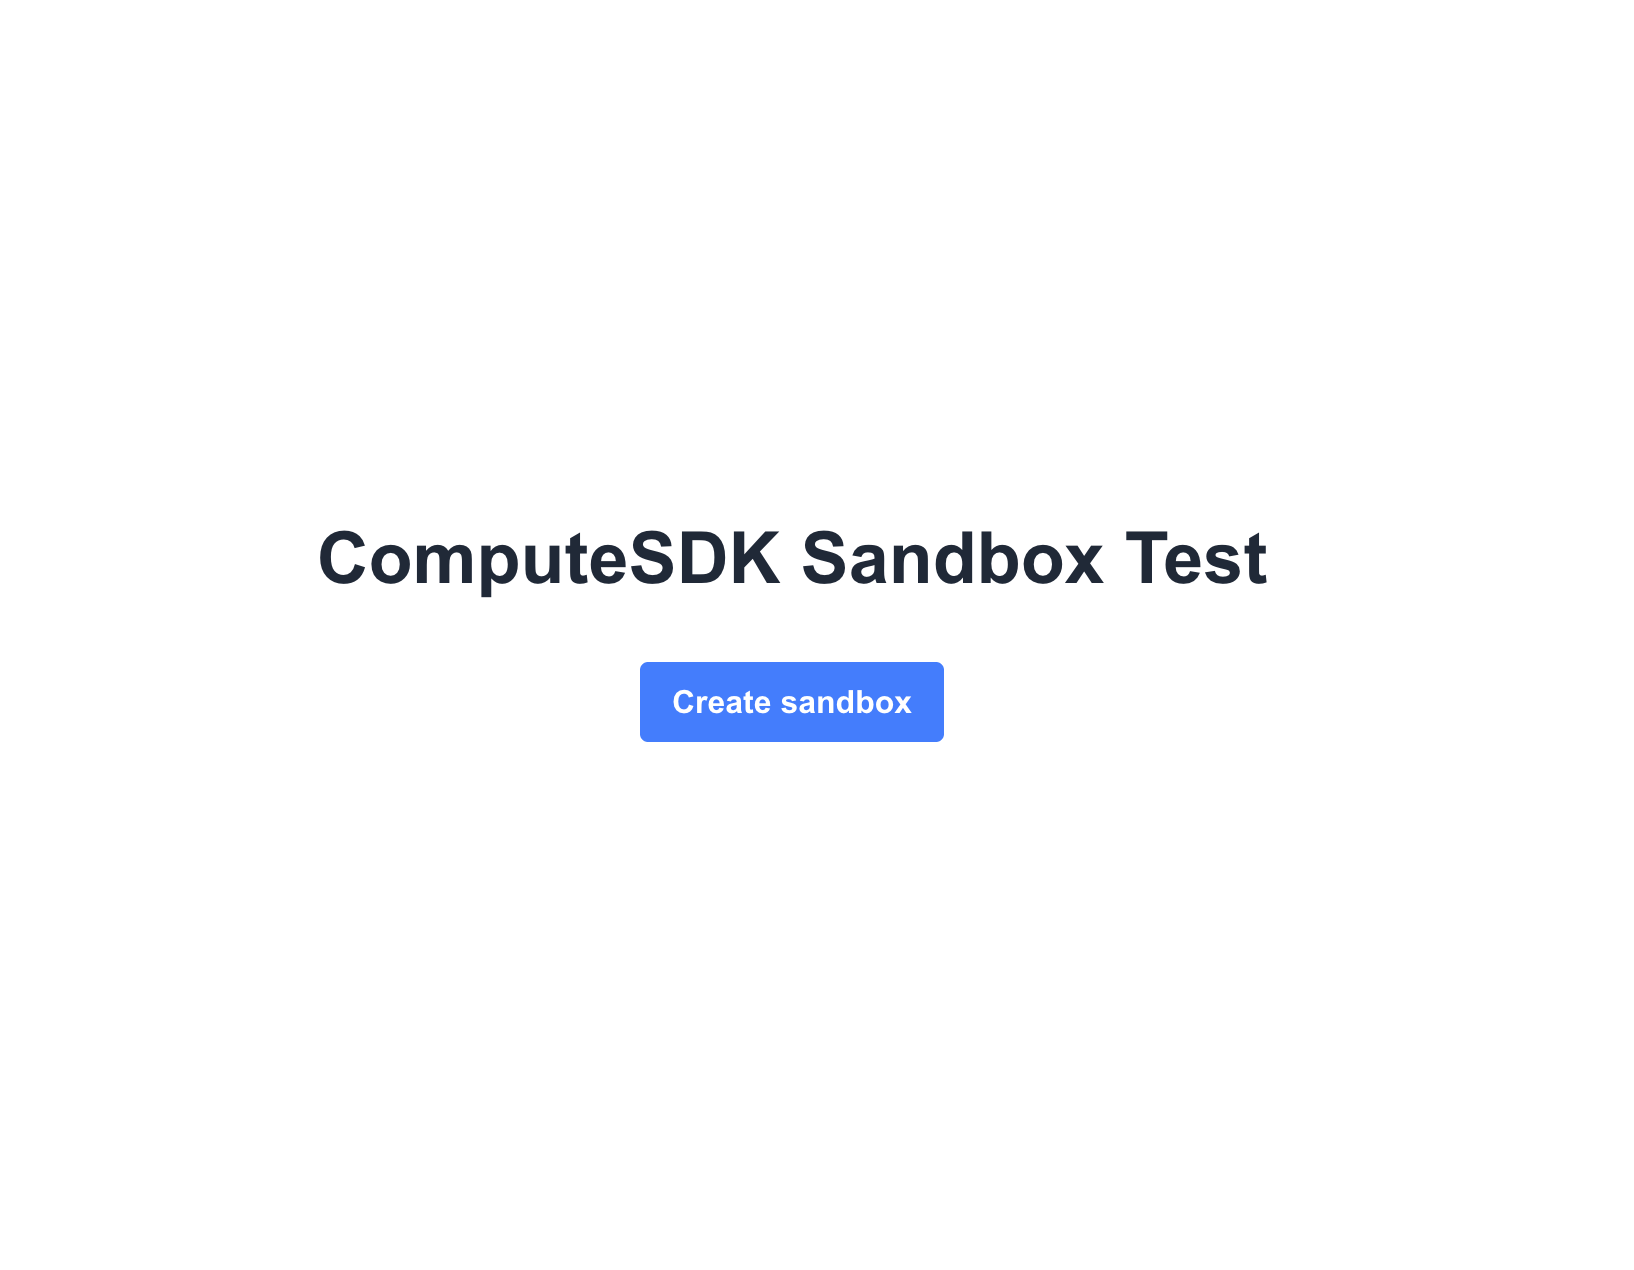
Then check your Tenki dashboard.
You should see a new sandbox created!
Success!
You’ve successfully created your first Tenki sandbox
If you want to use another sandbox provider like E2B or Daytona, swap the import and factory call — install @computesdk/e2b and use import { e2b } from '@computesdk/e2b' instead, with that provider’s own credentials. The rest of your code (runCommand, filesystem, getUrl) stays the same — that’s the point of the universal Sandbox interface.
Making changes within the sandbox
Now, let’s take the next step and run a primitive Vite app inside of our sandbox as an example of what we are able to do within the sandbox itself.
Update /api/sandbox/route.ts
Add the following to your app/api/sandbox/route.ts file directly below this in your code:
const sandbox = await compute.sandbox.create();Create a basic Vite app inside our sandbox subfolder
// Scaffold Vite React app
await sandbox.runCommand('npm create vite@5 app -- --template react');
Use the writeFile method
Customize the vite.config.js so we can access the local dev server.
// Custom vite.config.js to allow access to sandbox at port 5173
  const viteConfig = `import { defineConfig } from 'vite'
  import react from '@vitejs/plugin-react'

  export default defineConfig({
    plugins: [react()],
    server: {
      host: '0.0.0.0',
      port: 5173,
      strictPort: true,
      hmr: false,
      allowedHosts: ['.sb.tenki.sh', 'localhost', '127.0.0.1'],
    },
  })
  `;
  await sandbox.filesystem.writeFile('app/vite.config.js', viteConfig);
Run npm install using the runCommand method
  // Install dependencies
  await sandbox.runCommand('npm install', {
    cwd: 'app',
  })
Start local dev server in the background with runCommand
  // Start dev server
  sandbox.runCommand('npm run dev', {
    cwd: 'app',
  });
Use the getUrl method to get a preview URL
  // Get preview URL
  const url = await sandbox.getUrl({ port: 5173 });
  console.log('previewUrl:', url)
Tenki resolves this to its own preview domain, in the form https://<slug>.sb.tenki.sh.
Return the preview url along with the sandboxId
  return NextResponse.json({
    sandboxId: sandbox.sandboxId,
    url,
  });
Finished route.ts file
Your /app/api/sandbox/route.ts file should look like this now:
import { NextResponse } from 'next/server';
import { tenki } from '@computesdk/tenki';

const compute = tenki({
  apiKey: process.env.TENKI_API_KEY,
});

export async function POST() {

  const sandbox = await compute.sandbox.create();

  // Create basic Vite React app
  await sandbox.runCommand('npm create vite@5 app -- --template react');

  // Custom vite.config.js to allow access to sandbox at port 5173
  const viteConfig = `import { defineConfig } from 'vite'
  import react from '@vitejs/plugin-react'

  export default defineConfig({
    plugins: [react()],
    server: {
      host: '0.0.0.0',
      port: 5173,
      strictPort: true,
      hmr: false,
      allowedHosts: ['.sb.tenki.sh', 'localhost', '127.0.0.1'],
    },
  })
  `;
  await sandbox.filesystem.writeFile('app/vite.config.js', viteConfig);

  // Install dependencies
  await sandbox.runCommand('npm install', {
    cwd: 'app',
  })

  // Start dev server
  sandbox.runCommand('npm run dev', {
    cwd: 'app',
  });

  // Get preview URL
  const url = await sandbox.getUrl({ port: 5173 });
  console.log('previewUrl:', url)

  return NextResponse.json({
    sandboxId: sandbox.sandboxId,
    url,
  });
}
Testing Vite app inside sandbox
Now, after you click the “Create Tenki Sandbox” button on your localhost homepage you should:
- See a new sandbox created in your Tenki dashboard.
- See a preview URL logged to your terminal output.
- Finally, if you visit that URL you should see the boilerplate Vite React app running in your Tenki sandbox!
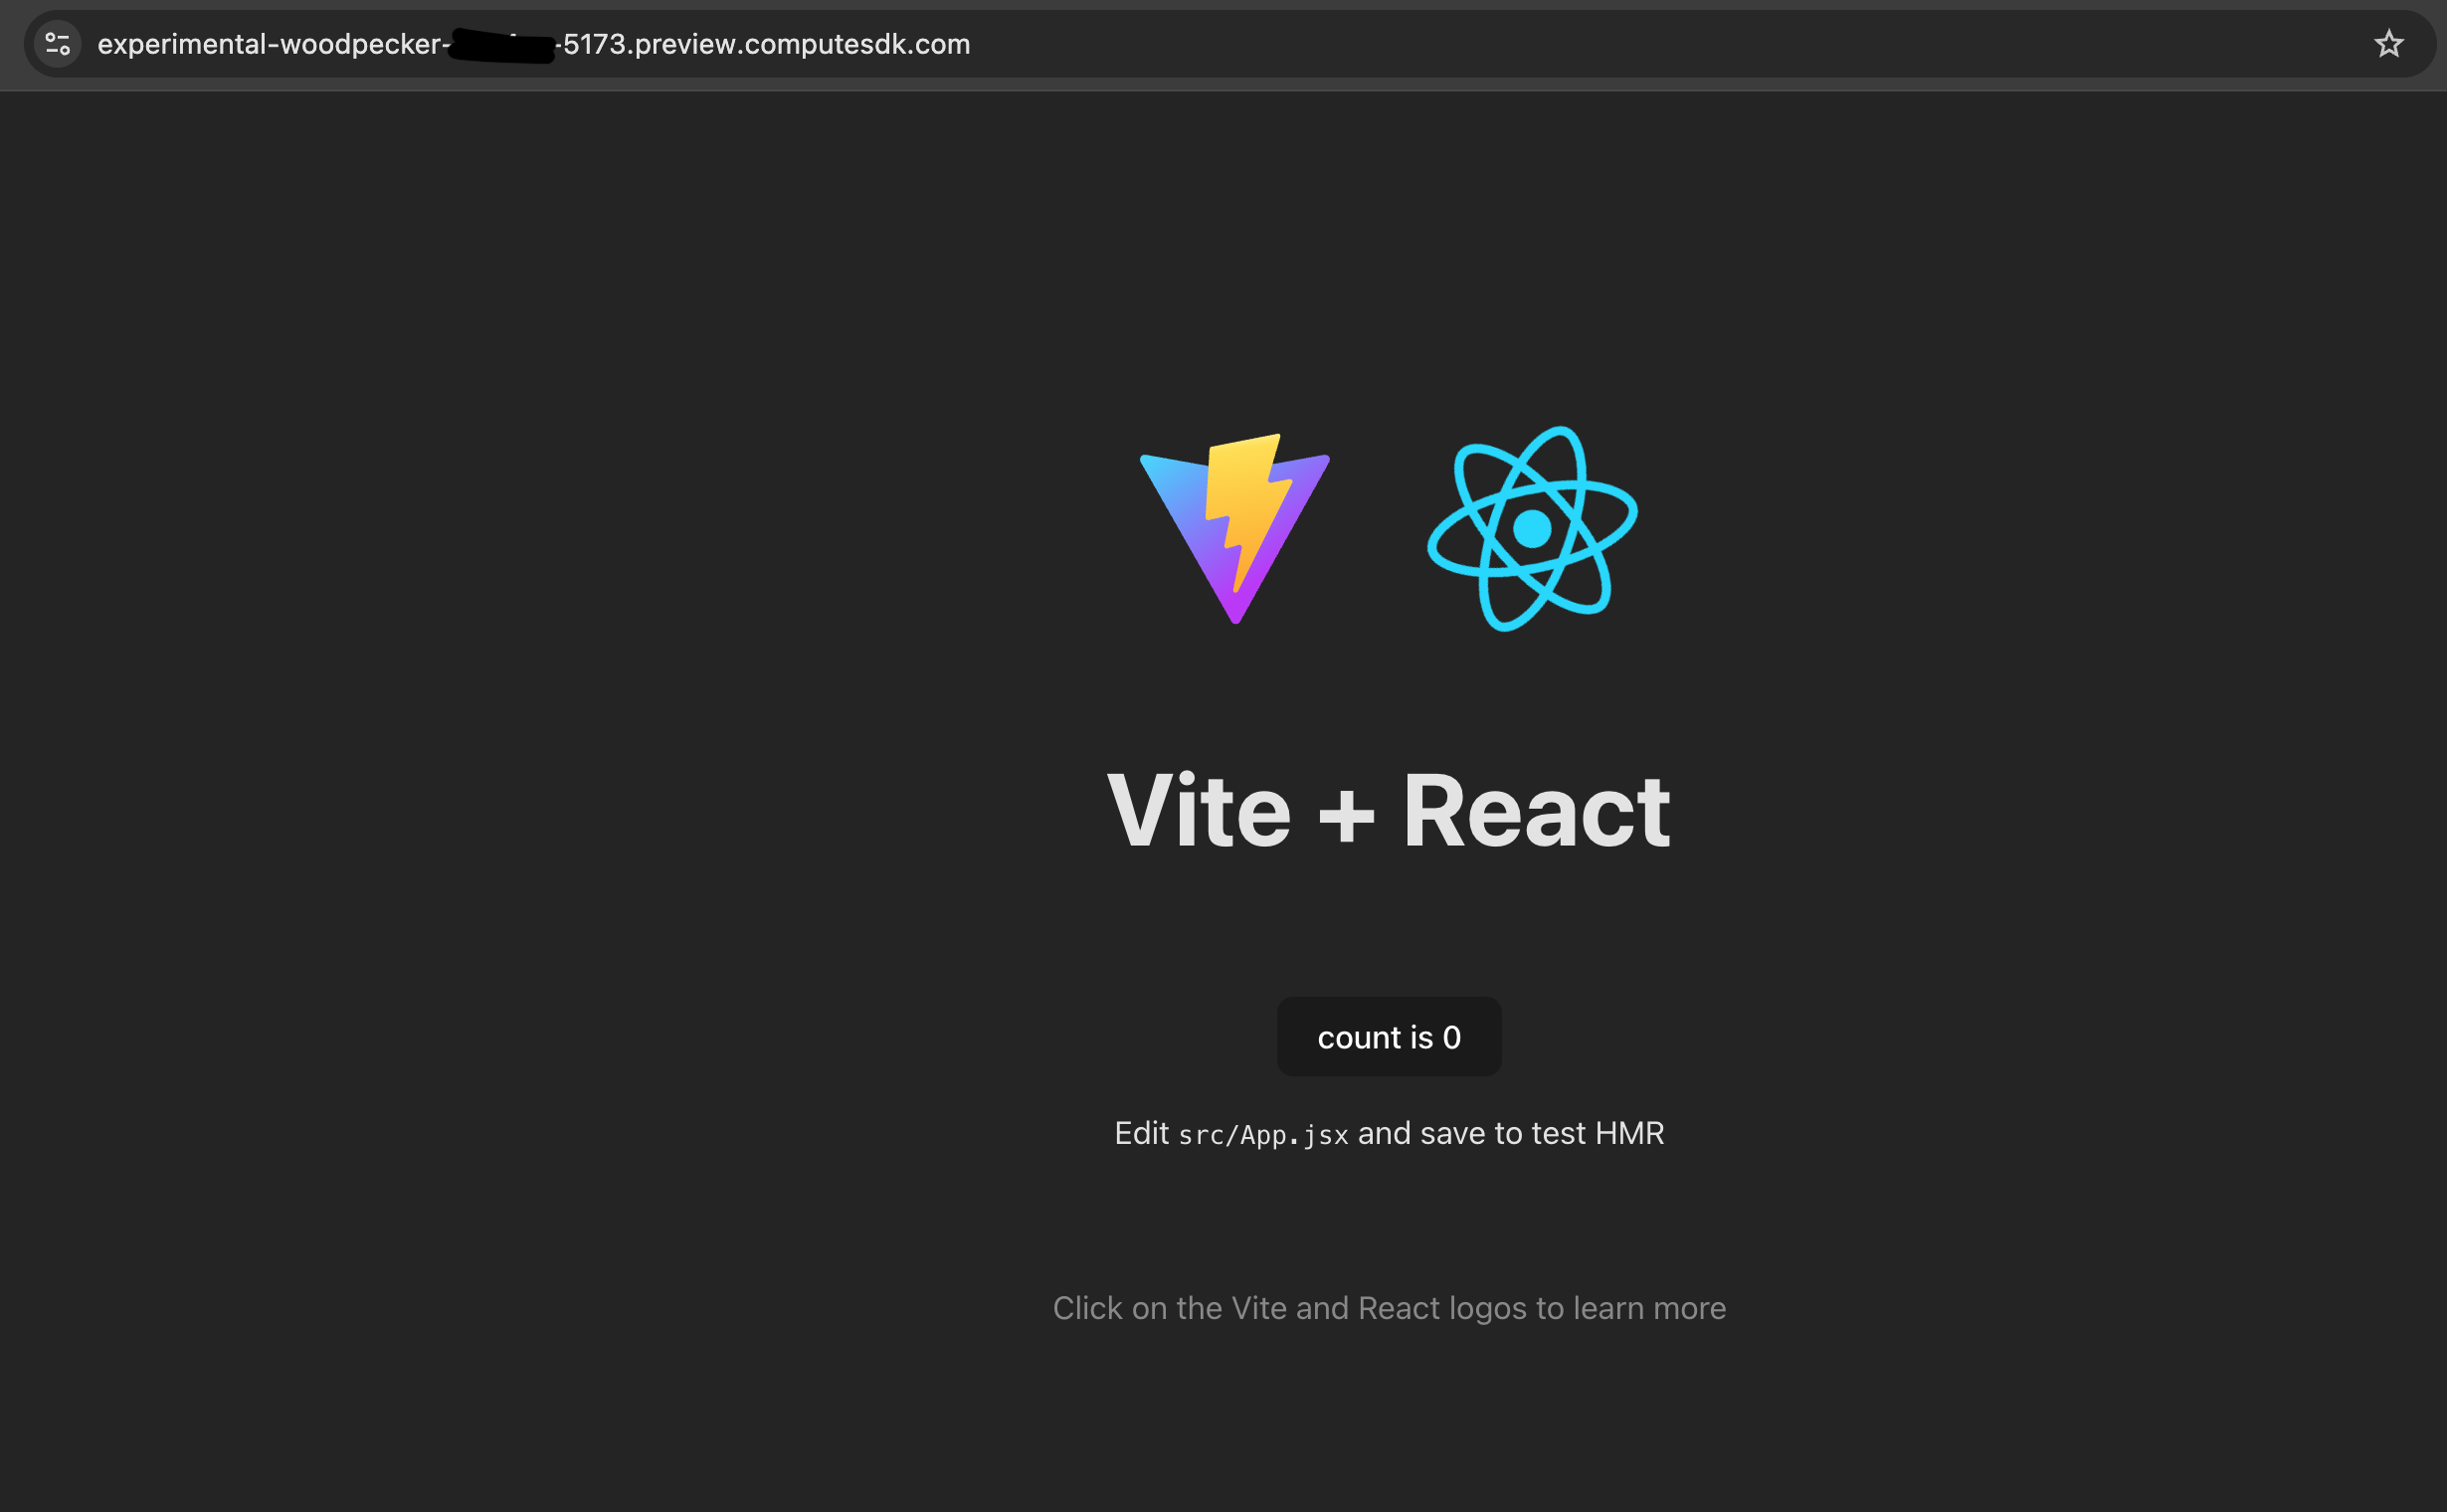
Congrats! You’ve successfully created your first sandbox application
You have done the following:
- created a Tenki sandbox with ComputeSDK
- used our runCommand, writeFile, and getUrl methods (these work with any provider whose sandbox supports them)
- ran a Vite app inside the sandbox
- accessed the app running within the sandbox through its preview URL
ComputeSDK makes it easy to standardize this process across providers.
So now that you’ve written this code for Tenki, you can easily adjust this code to run in any sandbox provider.
Happy Sandboxing!
Want to get sandboxes running in your application?
Want to be added as a provider?
Reach out to us at [email protected]